Thank You for Registering for The Physician’s Choice Summit & Expo
 Follow the steps below to complete your registration and receive important information concerning the summit & expo
Step 1: Check Your Email
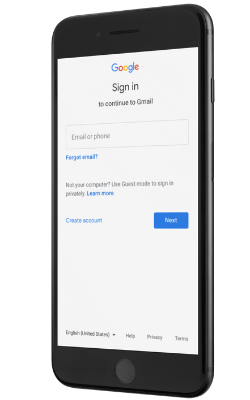
Shortly, you’ll get an email from [email protected] with the subject line “Physician’s Choice Summit & Expo Access!”
We will release the session over a period of 7 days, so be sure to check the dates and times in the schedule. You won’t want to miss a minute of this information-packed journey.
The Physician’s Choice Summit & Expo is set up into multiple tracks, with each day focusing on a new theme. These include:
- Testing and Diagnosis
- Botanical Medicine
- Practice Building
- Homeopathy
- Software & Business Services
- Supplements & Nutraceuticals
- Nonprofits and community organization
If you don’t receive this email within the next hour, check your spam or promotions folder. If it is not there, please contact our support team at [email protected].

Step 2: Add Us To Your Contacts
This is an important step, so please don’t overlook it.
Spam filters and auto-sorting algorithms sometimes hide important emails. You can do that by replying to this email or adding to your address book. Adding us to your contacts ensures you get the full benefit of everything you signed up for. We will send you a personalized link via email before we release each episode of the series. This is the only way to access it.
The best way to make sure the emails you really want to receive don’t get sent to spam is to whitelist the addresses from the people and companies you know. To ensure your important free trial emails are delivered to your inbox, you can add Physician’s Choice Summit & Expo email address to your inboxes whitelist, also known as Approved or Safe Sender list.
Each episode is only available for 24 hours and packed with health-transforming information, and you need the link in the email to access it.
- Click Contacts on the left side of your inbox.
- Click the New Contact icon and add [email protected].
- Click Add Contact at the bottom.
- Click Mail → Preferences → Rules.
- Click Add Rule.
- Add “Whitelist Ontraport” in the description field.
- Set the first dropdown to “any” so that your first condition says “If any of the following conditions are met.”
- In the next two dropdown menus, add “From” in the first, and “Ends with” in the second.
- Add “@ndnr.com” in the text field after “Ends with.”
- Set your dropdowns to “Move Message” to the “mailbox:Inbox:” in the “Perform the following actions” section.
- Click Ok.
- Open Gmail, click the Settings icon from the menu → Settings.
- Click Filters and Blocked Addresses → Create a new filter.
- In the “From” field, add either the email address you want to whitelist or the domain. For example, expo@ndnr.com or @expo.com.
- Click Create filter then select “Never send it to Spam.”
- Click Create filter again to finish the process.
- Open Outlook and go to the “Home” tab.
- In the “Delete” group, click Junk → Junk E-mail Options.
- Go to the Safe Senders tab and click Add.
- In the “Add address or domain” dialog box, add the email address or domain name you want to whitelist. For example expo@ndnr.com or @ndnr.com.
- Click OK and confirm the email address or domain appears in your safe senders list.
- Click the gear icon in the top right → click Options.
- Click Safe and blocked senders in the “Preventing junk email” section.
- Click Safe senders → enter “info@ndnr.com” → click Add to list.
- Go to the “Settings menu” and click Settings.
- Click Filters → Add.
- Add either the email address or domain name you’d like to whitelist. For example expo@ndnr.com or @ndnr.com.
- Select “Inbox” as the folder to deliver the mail to and click Save.
Step 3: Join the Facebook Group
Access Live Q & A sessions, get support and network with fellow physicians and presenters!
Thank you joining us! Sessions begin NOW!
Step 4: Access Content
Access sessions, Q & As and more!
